During its twenty years, my Avondale has probably not had a change of friction pads in its Winterhoff tow hitch. Certainly, they haven’t been changed during the last ten years in my ownership, and with the indicator rod moving away from its start line, I decided it was time for a change. There’s a variety of prices to be found online, so it pays to shop around.
The chassis manual says “The pads are very easy to change if worn”. Nevertheless, I decided to remove the hitch from the van and work on it in the garage. Which was a good decision otherwise the job has to be done in the crouch position using a mirror. Note: If you remove the hitch don’t forget to knock in a 45mm length of 12mm bar to replace the rear mounting bolt because the bolt also holds the shock absorber in position. For more details on removing the hitch, see my earlier blog about renewing the hitch bellows.
With the protective nose cone removed, the front pad is knocked from its seating. On my hitch, the old pad was reluctant to move and it took some serious hammering before it shot out in several pieces. The rear one was much easier. After a spray with brake cleaner and a wipe-down, the new pads were fitted. Again, the front one was difficult and needed a squeeze with a ‘G’-cramp to help press it in. The pictures show it all.
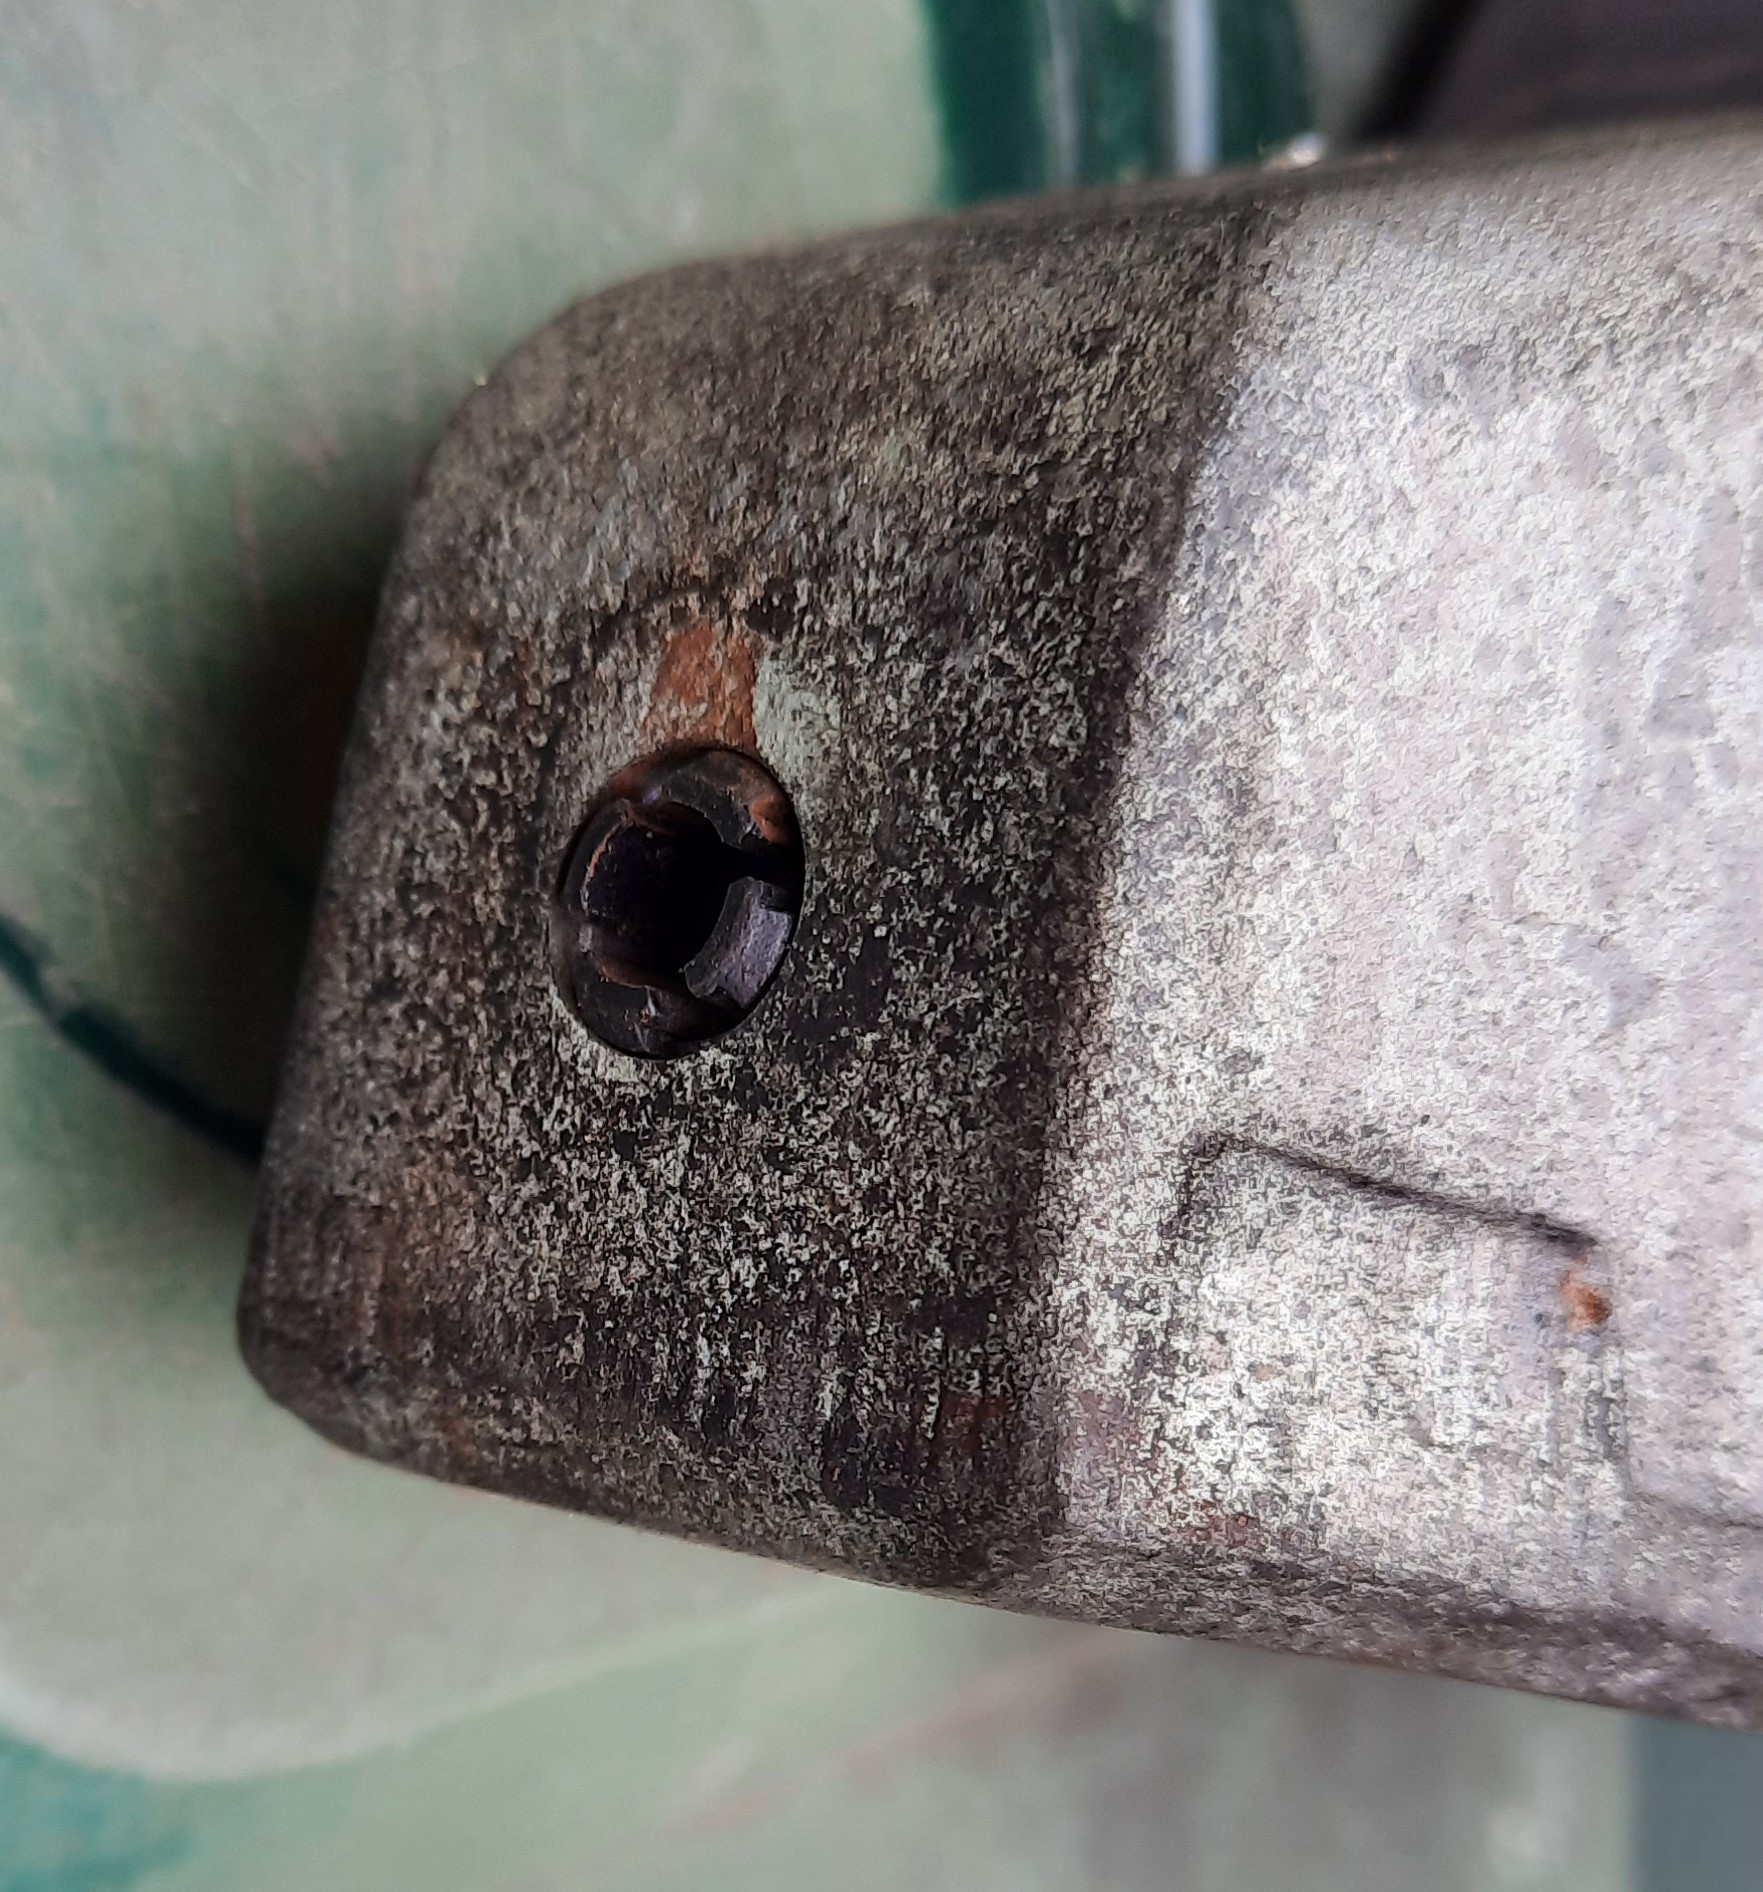
The front pad is knocked from its seating.
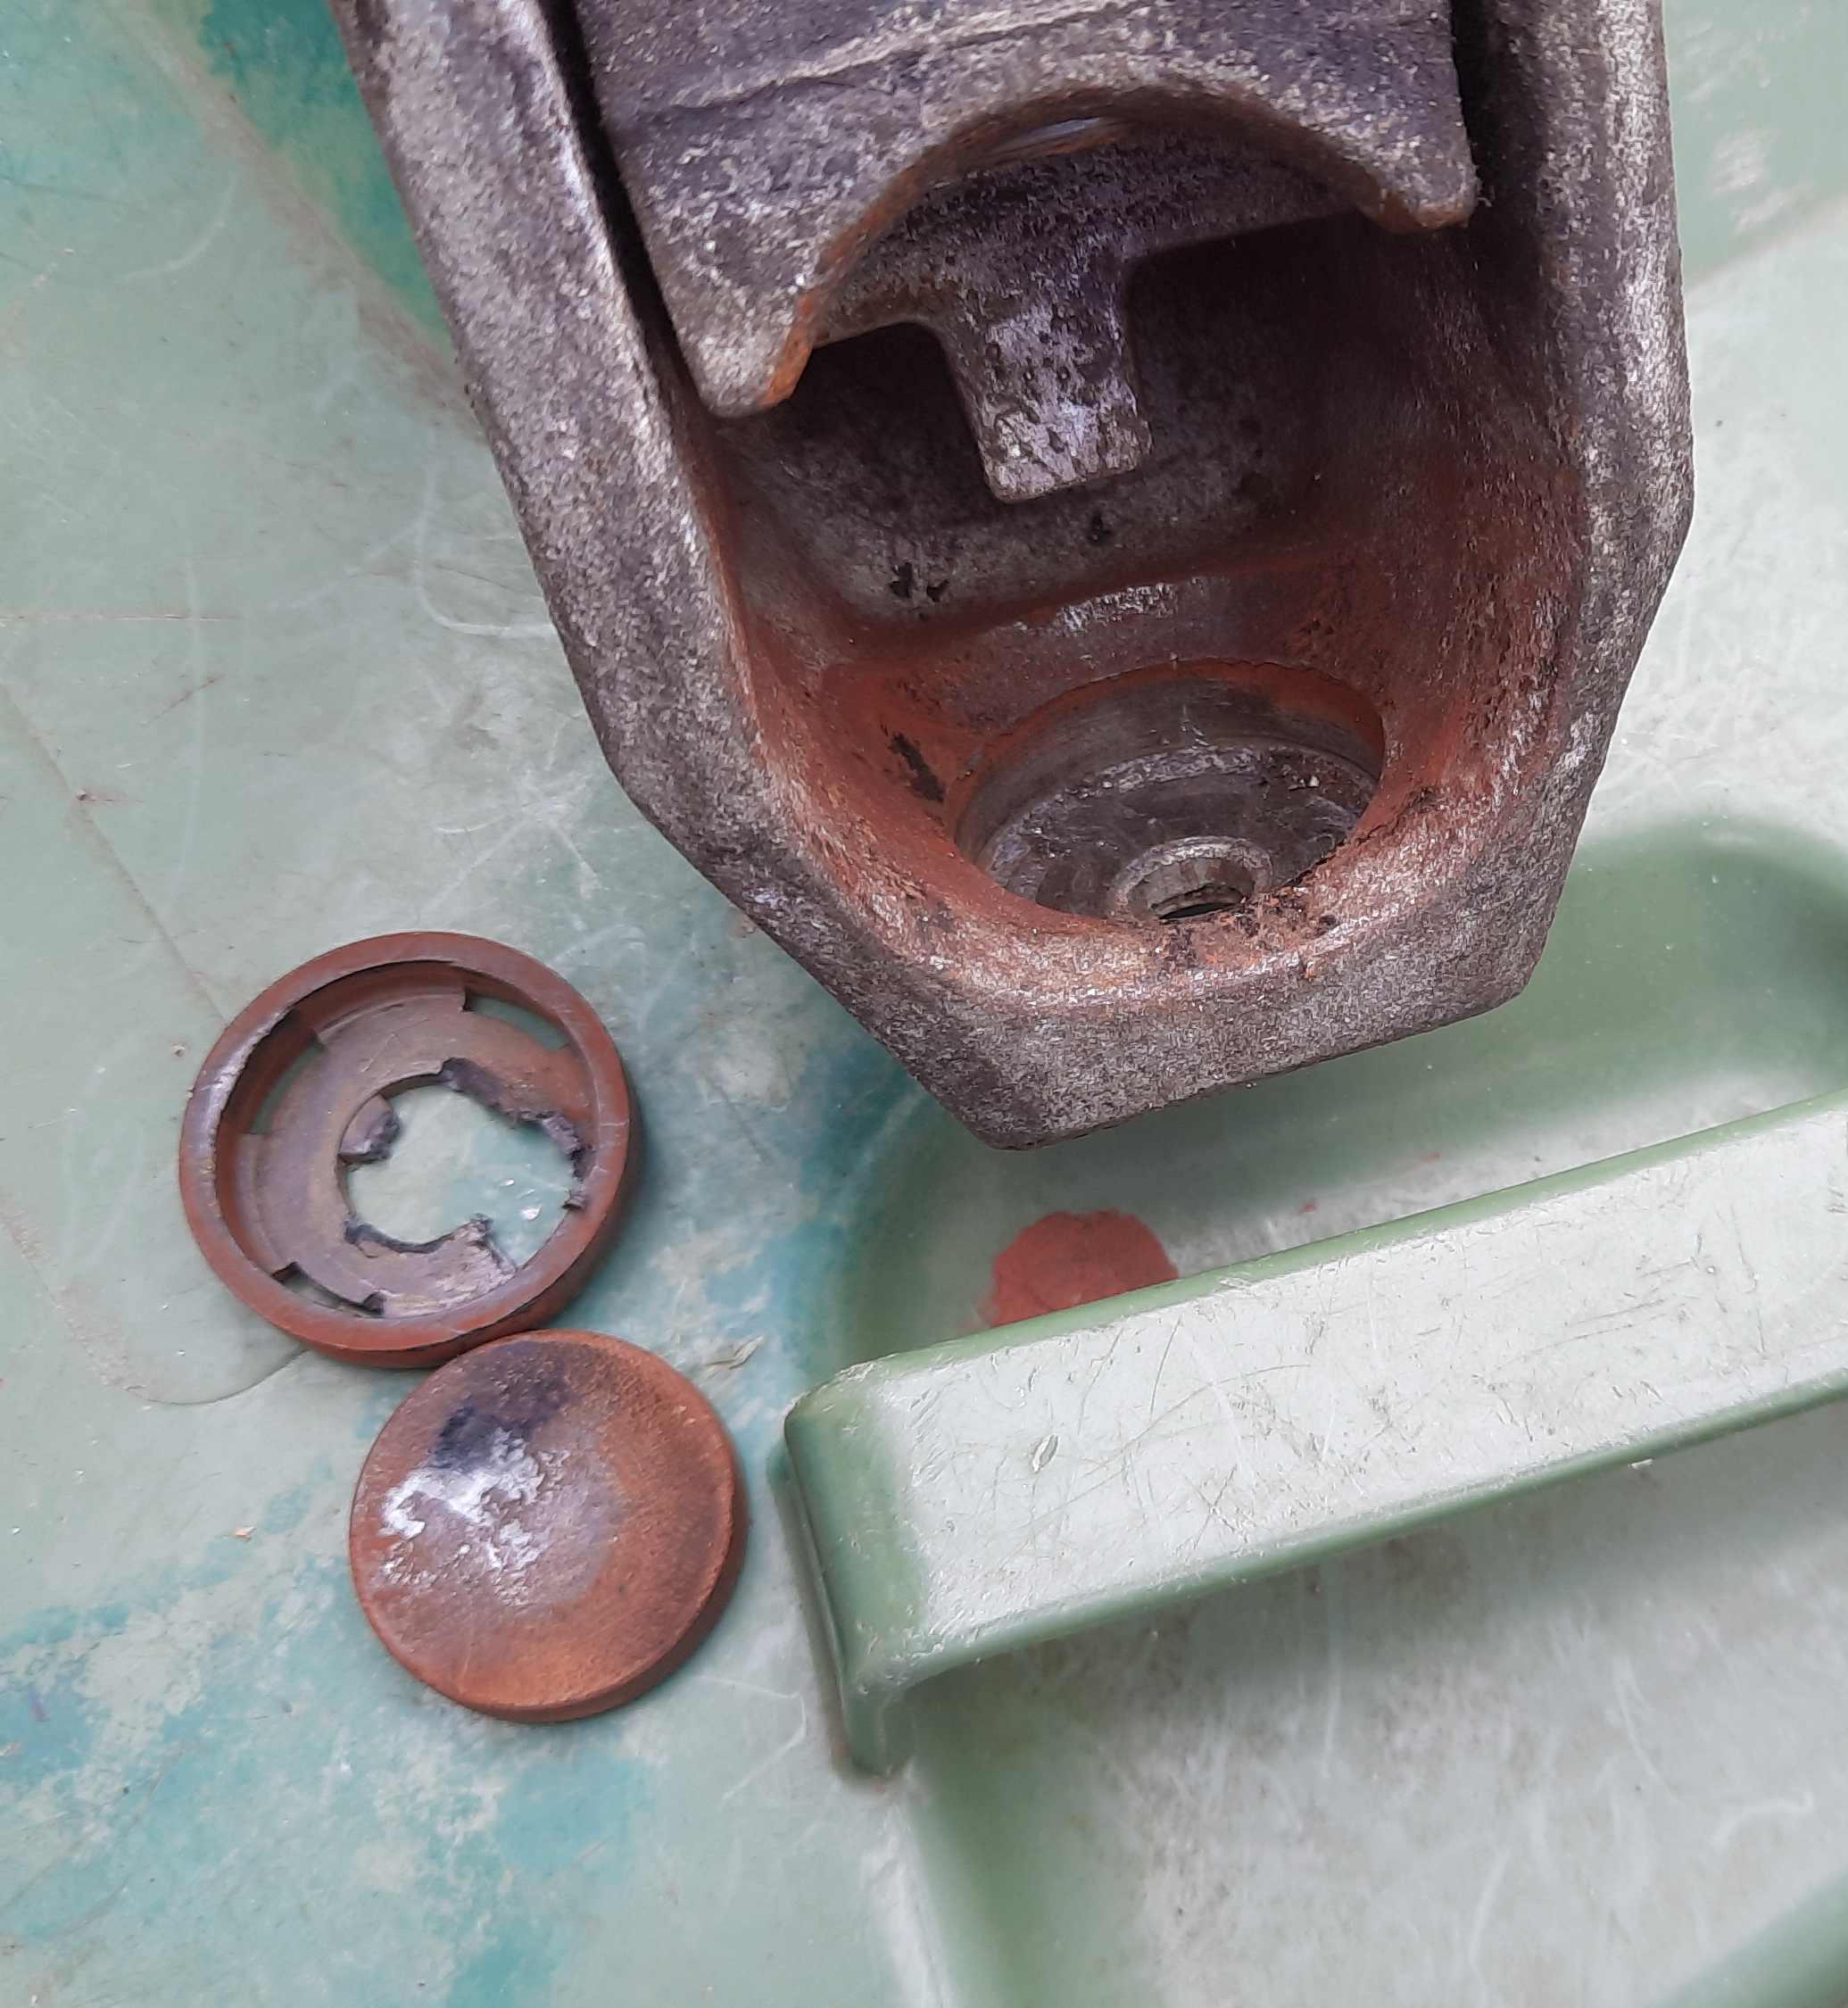
The removed front pad and its seating

The rear moving pad and the seating

New rear pad fitted.
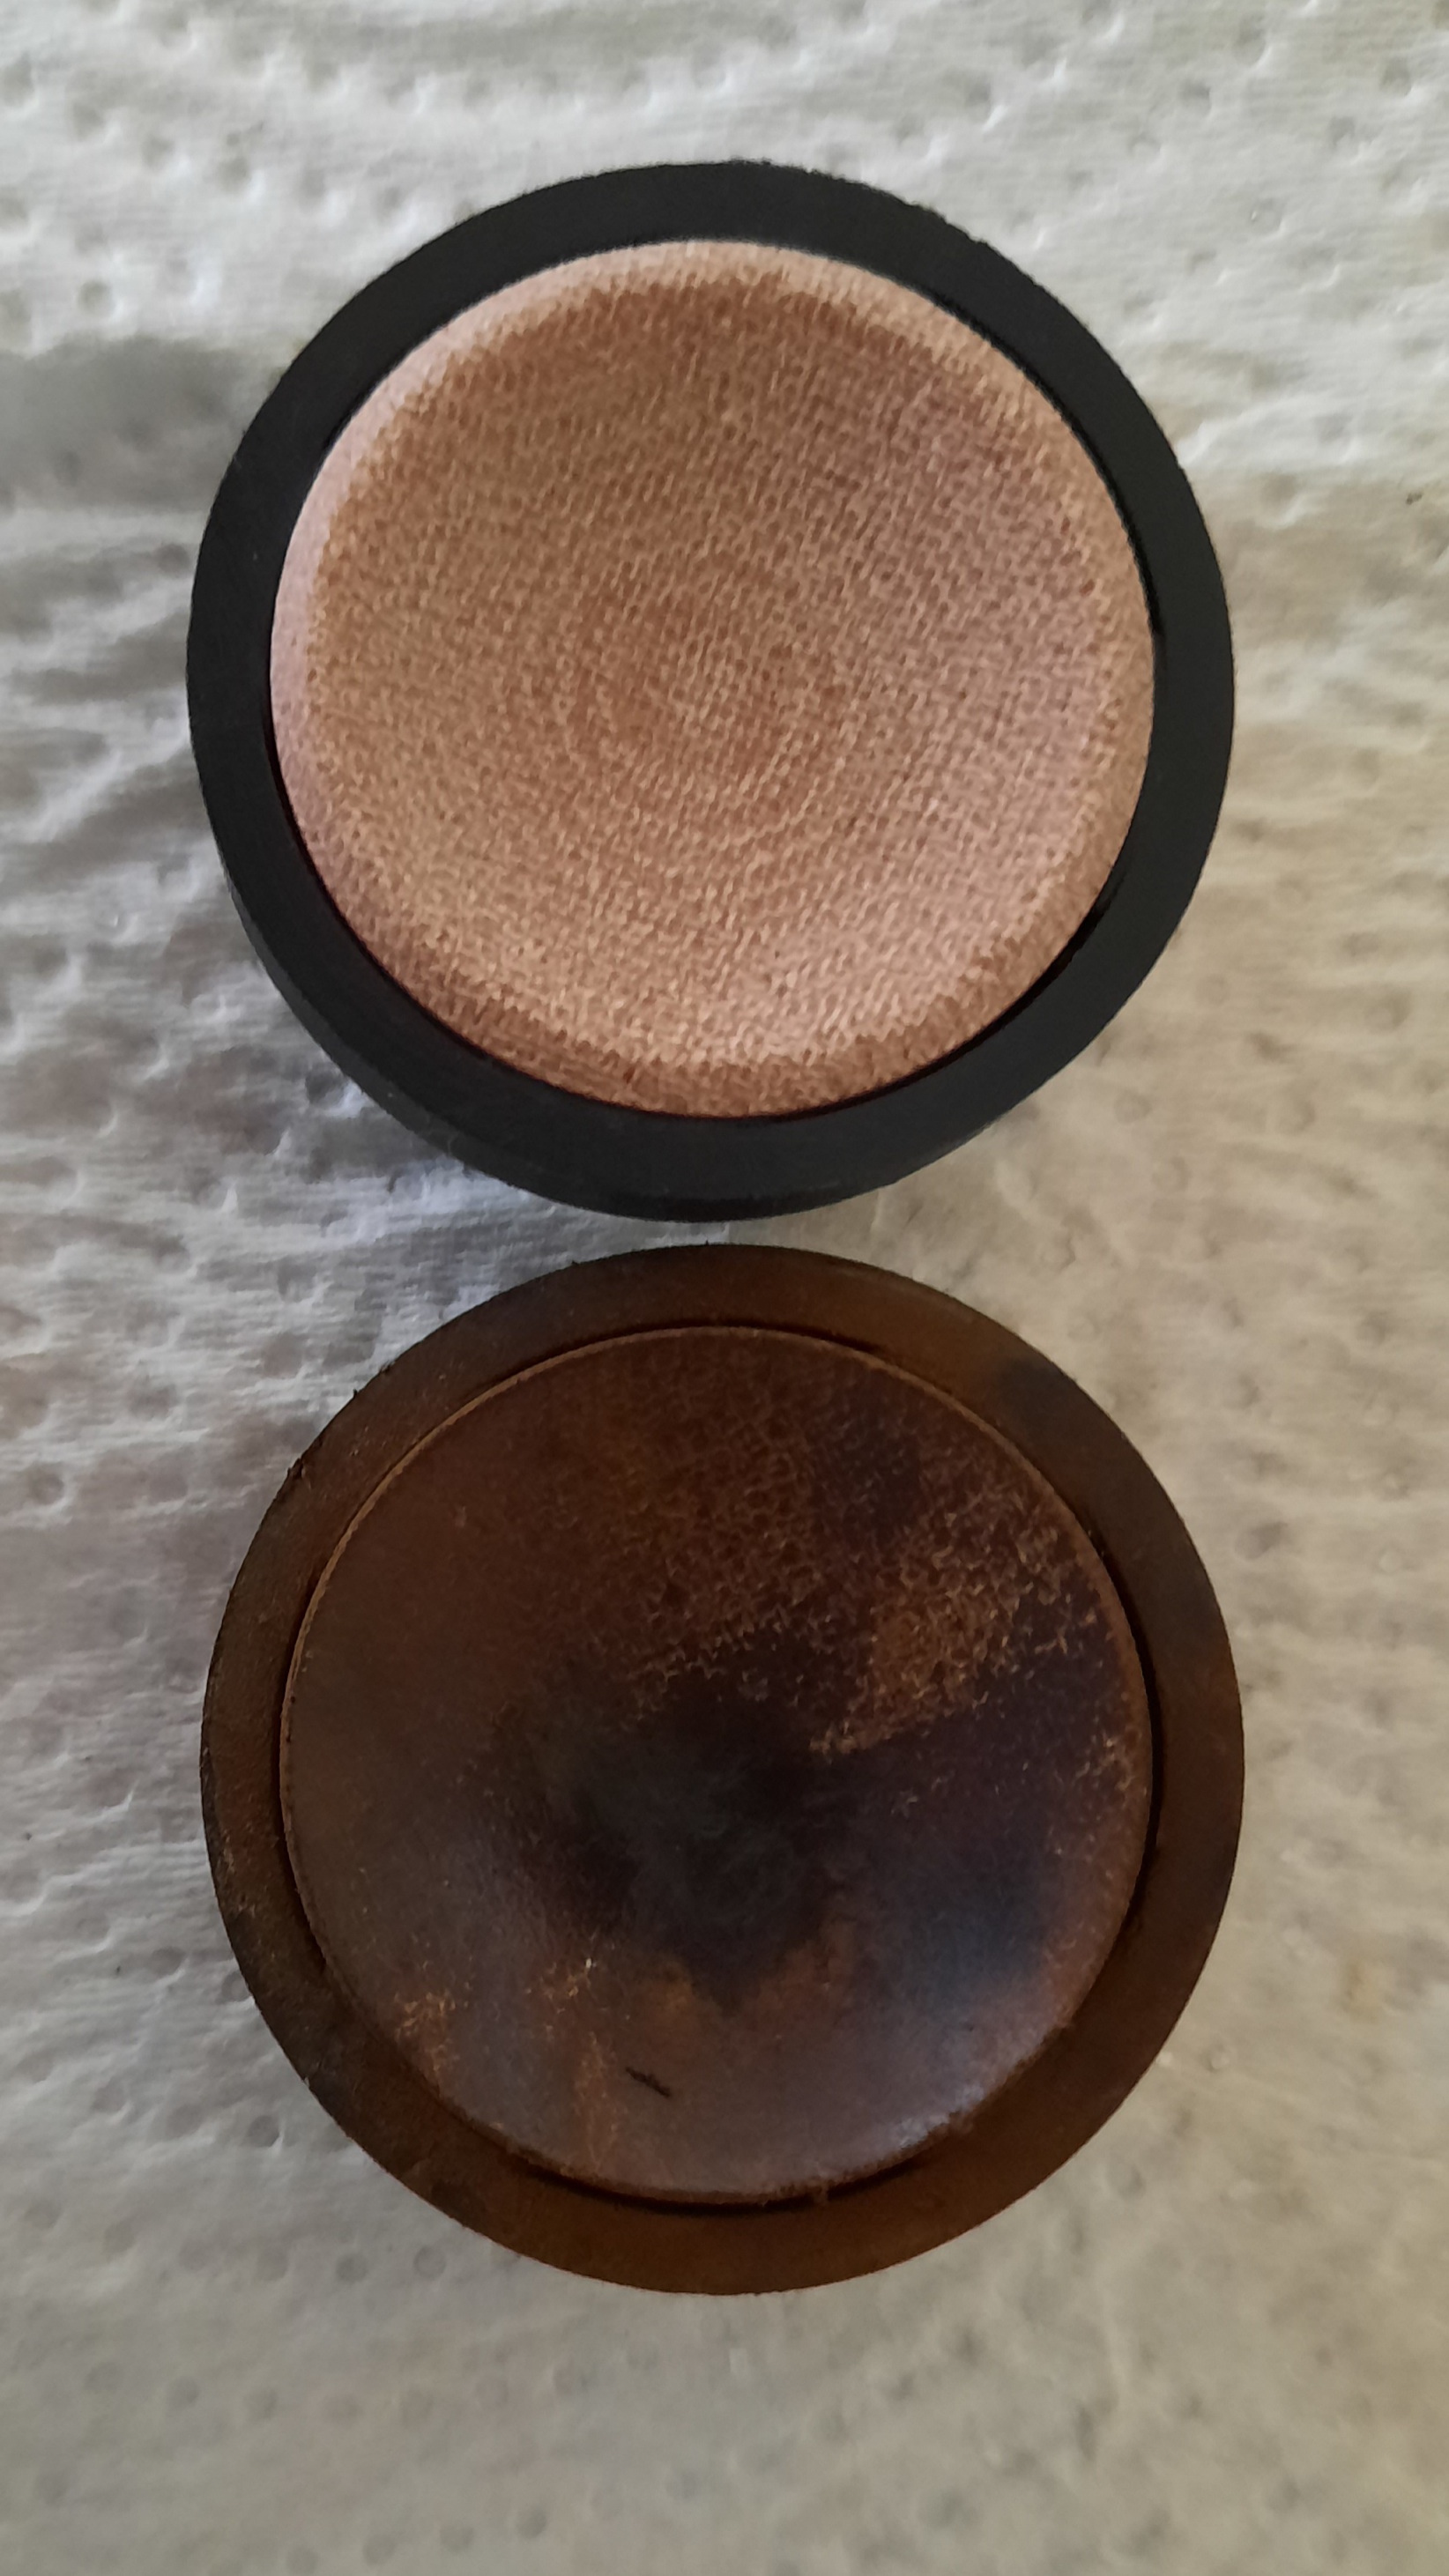
The new and old. Note the feather edge on the old pad indicating considerable wear.
