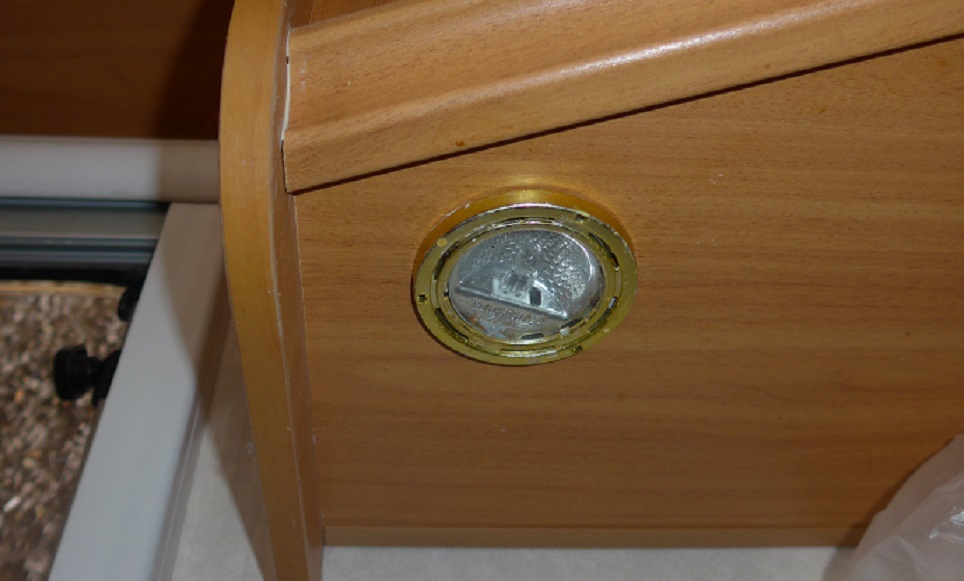
My Avondale was fitted with two G4 halogen lights under the overhead cupboards to light up the sink unit area and cooker.
They gave a good light but they ran very hot which was possibly one of the reasons that the bulbs didn’t last very long. And they used a considerable amount of battery power compared with more modern lights. It was maybe time to replace them with LEDs. Browsing eBay I found sets of four lights. This is the kit.

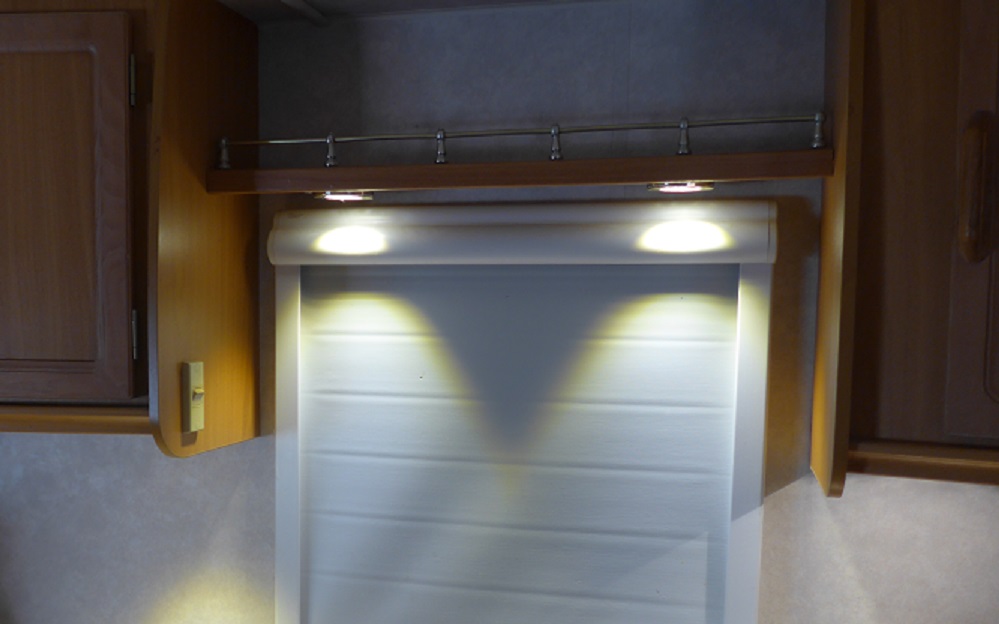
I thought that since I was replacing the two G4s with the LEDs, I would add two extra ones above the window. The whole job was easily done in a morning. Unlike the G4 lights which require a new bulb from time to time, these LEDs are not replaceable but since they have a supposedly 20,000-hour life, it’s expected that they will last for a good few years. Each light also consumes only 1.8 watts against the G4’s 10 watts each. They are available in warm or cool white. My preference is for the warm – the cool light appears very clinical.
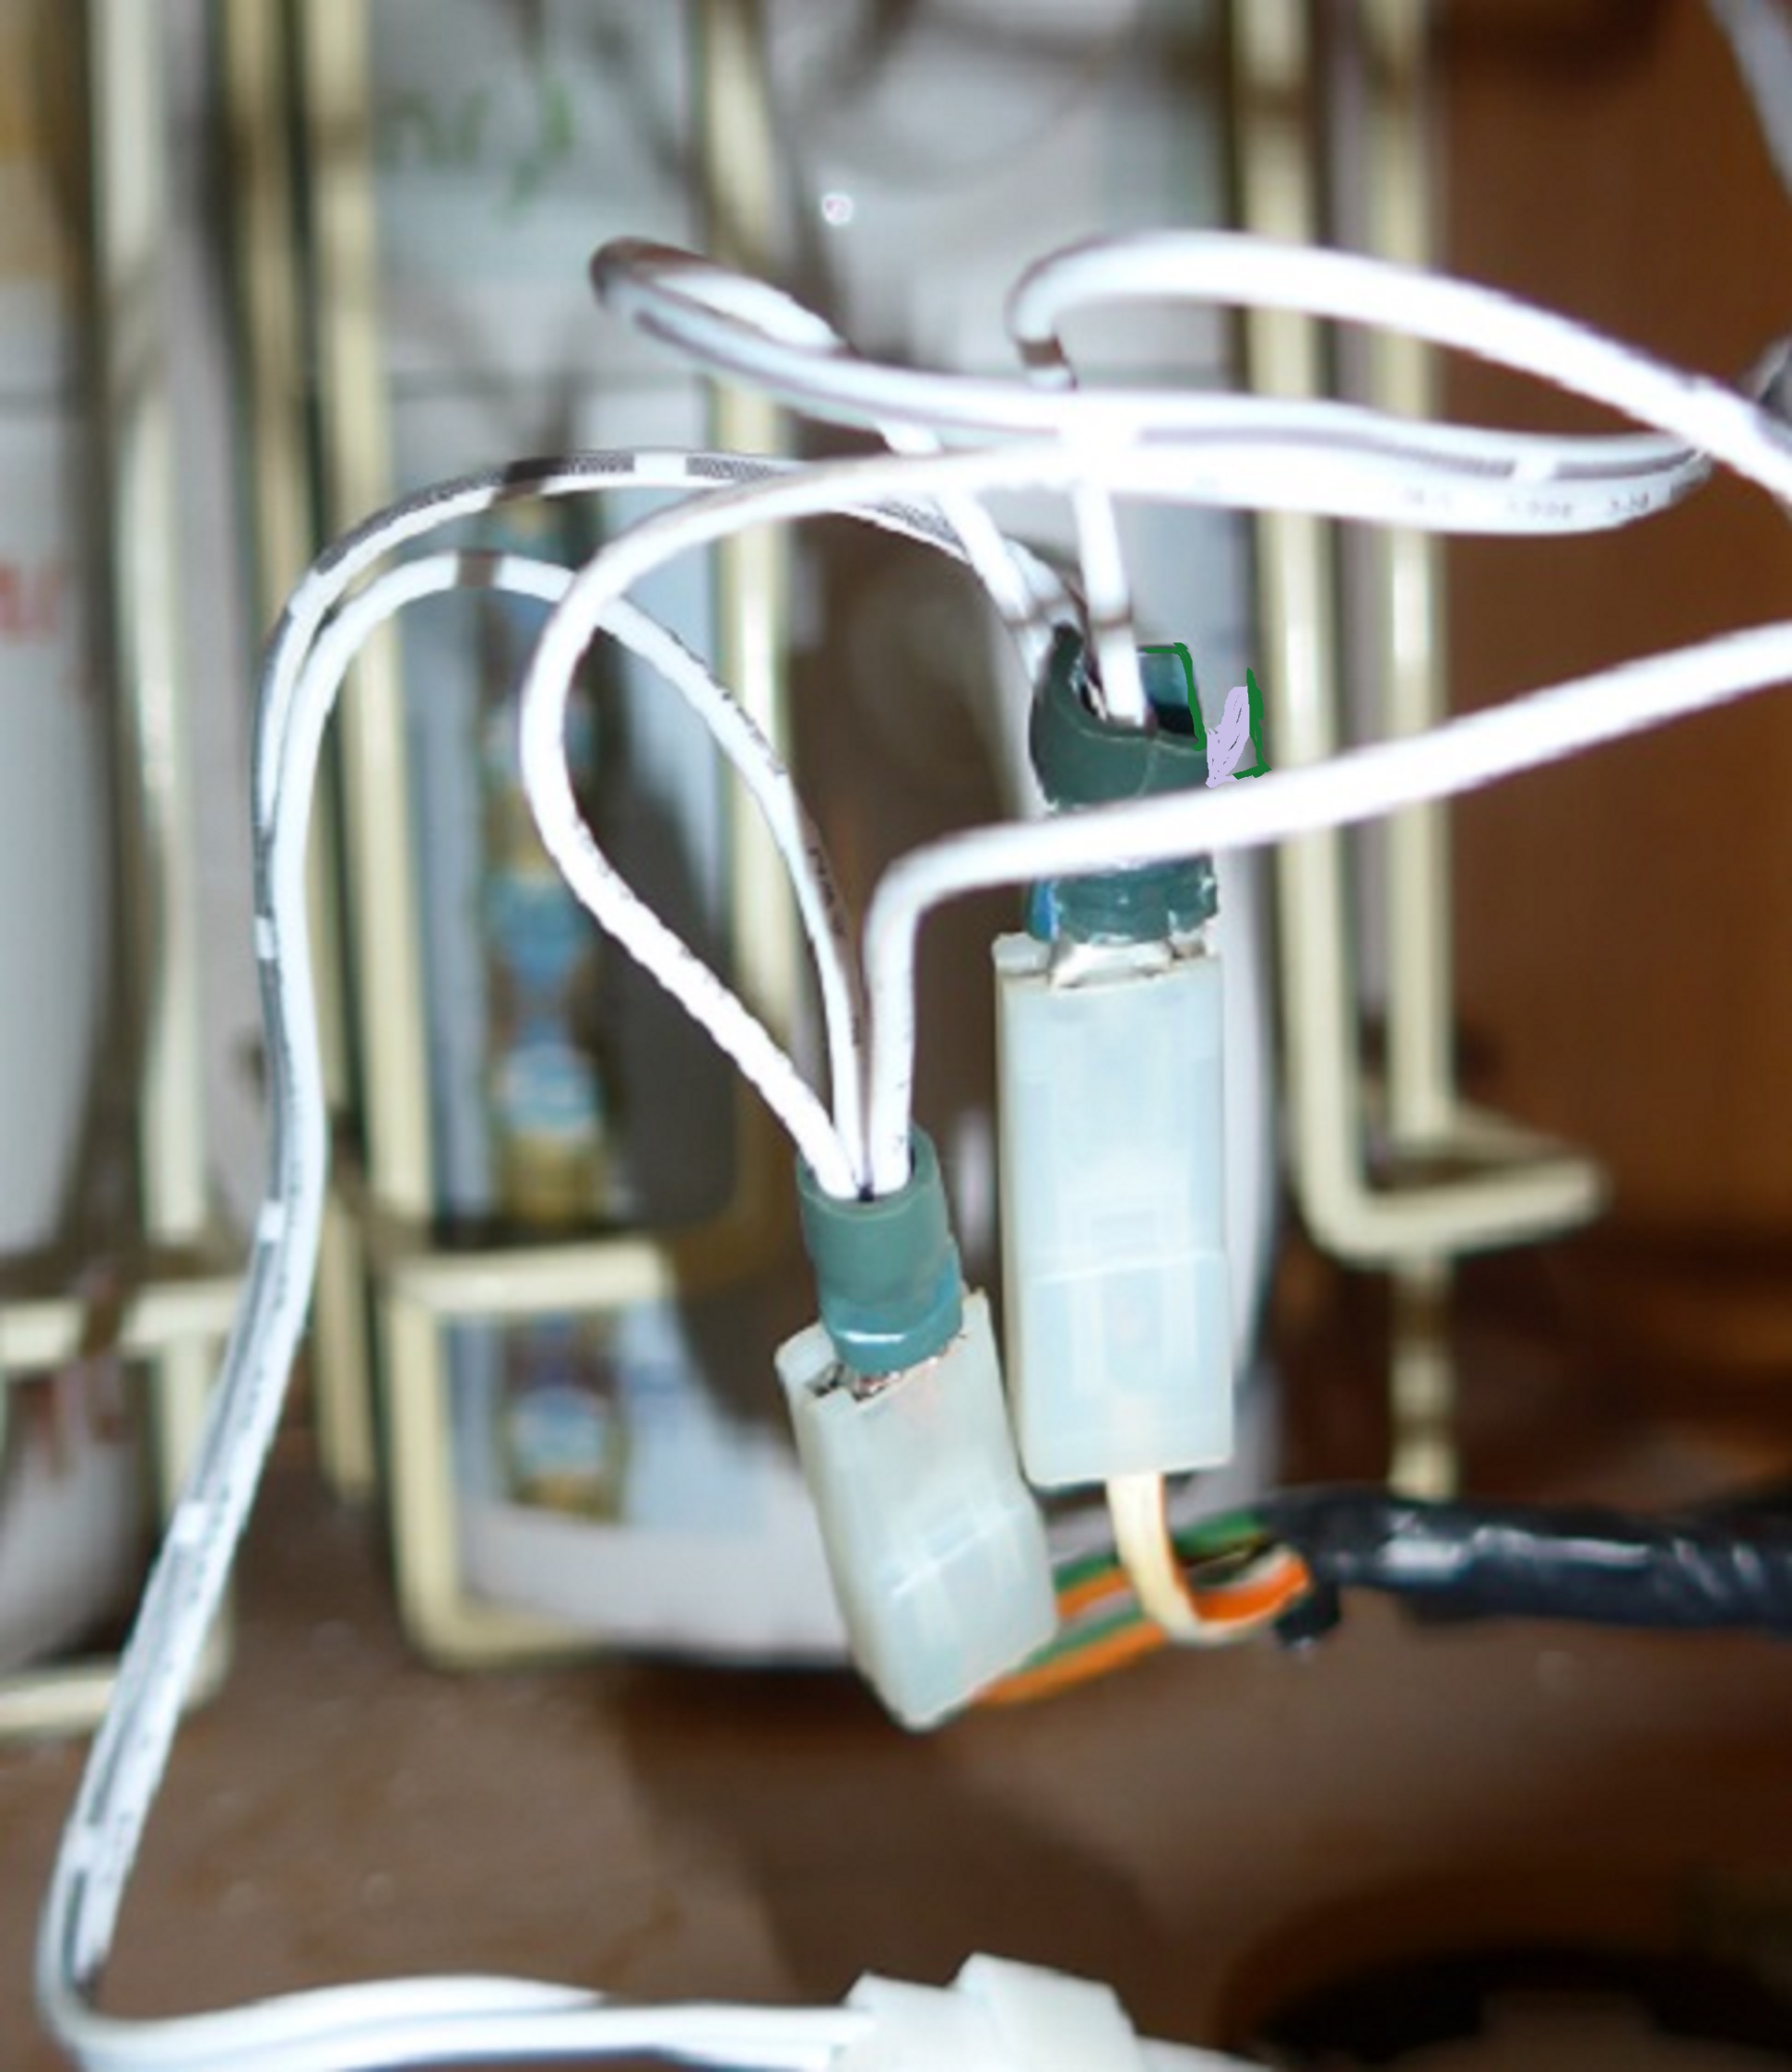
First I disconnected the old lights. They were connected with two male/female spade connectors which are housed under a plastic cover fitted inside the cupboard. With the old light disconnected, the fitting came away by removing three screws. The bezel for the new light was fixed first with the two screws provided. The new wires passed through the bezel, through the existing hole and into the cupboard.

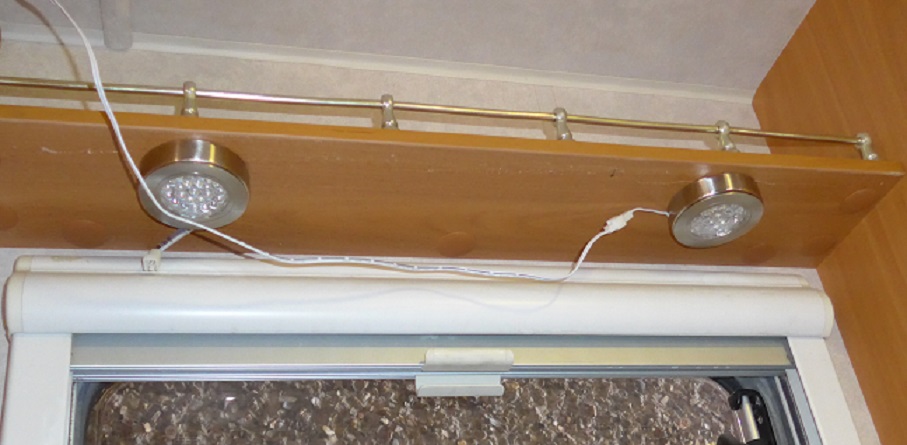
For the two additional lights, a hole was drilled in the cupboard side through which the wires would go along the shelf above the window. Again, the bezels were fixed first with the LEDs snapping into them.
The wires were threaded through the hole and the three pairs of wire were grouped into negatives and positives. A male spade connector was crimped onto each group of three wires.
It is essential that the polarity of each light is correct since if positive and negative are reversed, the light won’t work.
To finish the job and to hide the wiring to the two new lights, I needed a piece of pelmet. A few years ago I found some one-metre-wide rolls of Fablon (sticky-backed plastic) which was a good match for the woodwork in my van. I bought one to keep for the future. This is what I used. Also in my workshop, I had some uPVC window moulding trim. A length was cut that would fit between the two cupboards. A strip of Fablon was also cut and the plastic trim was covered with it. The pelmet was finally fixed along the shelf with some double-sided sticky pads.